Quick start
Set up a site, checklist, asset and worker, then complete your first inspection in about 10 minutes.
Before you start
This tutorial takes you from an empty account to your first completed inspection in about 10 minutes. You will set up one site, one checklist, one asset, and one worker, then do a test scan with your own phone.
You need:
- A super administrator account (the account you signed up with).
- A phone with a camera, to test the scan.
Step 1: Create a site and a checklist
A site is the building or location you manage. Everything else you create belongs to a site.
- In the sidebar, click Sites.
- Click Add site.
- Type a Site name and click Add.
- Check that the new site is selected in the site selector at the top of the sidebar.
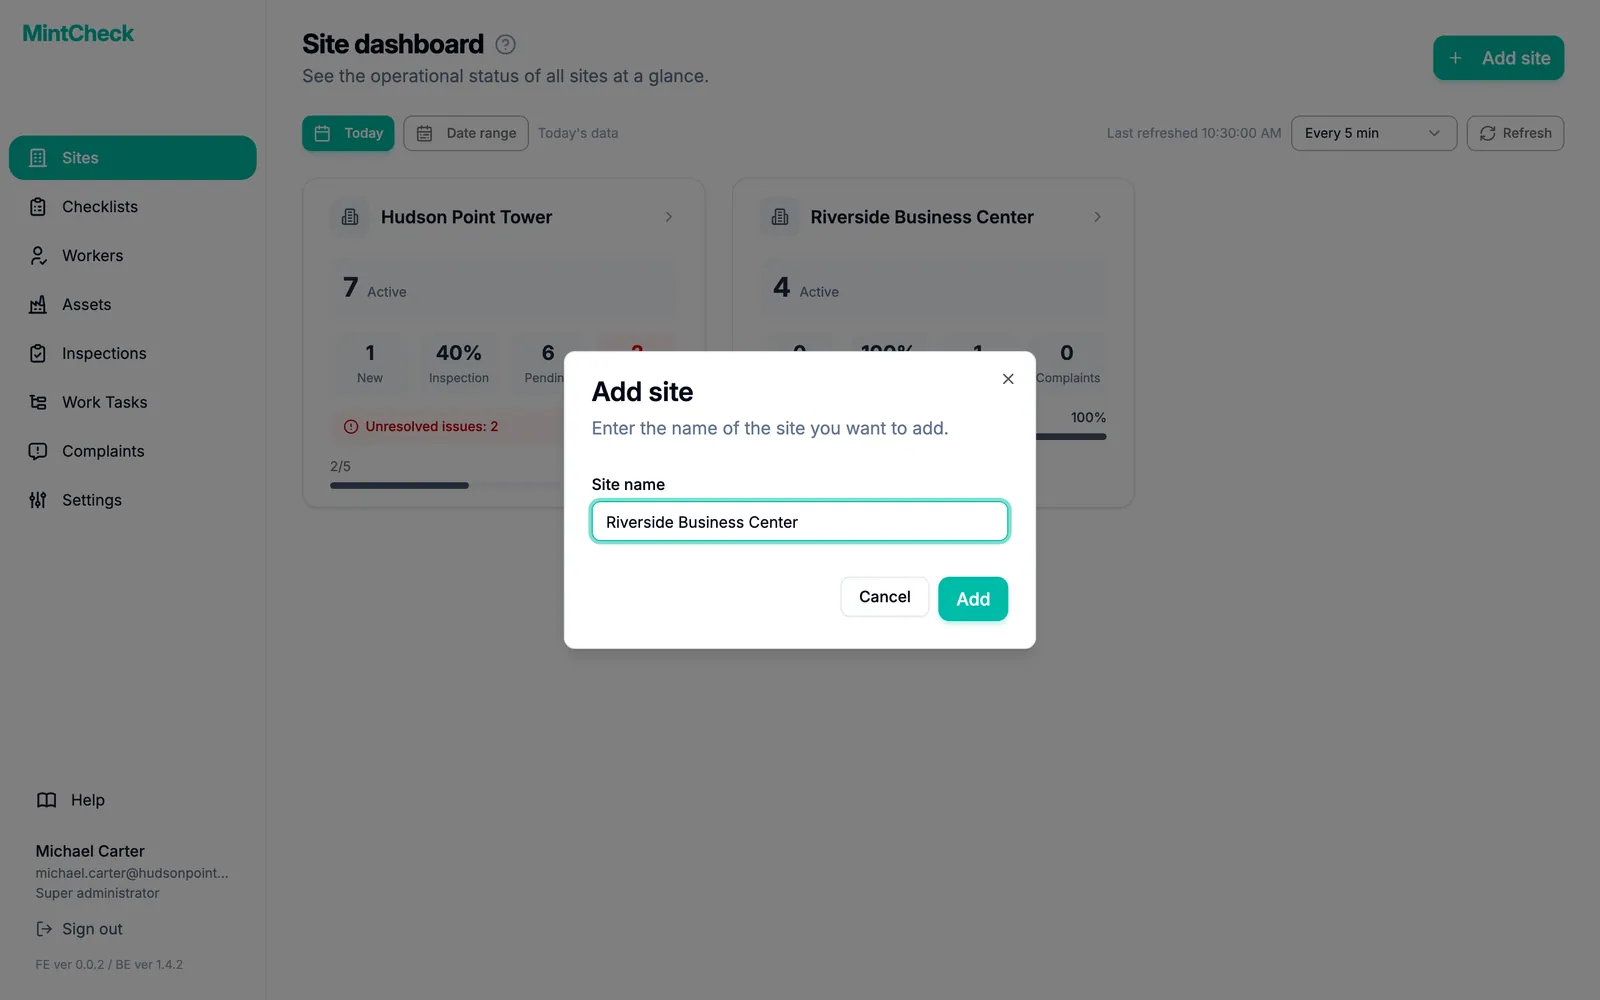
Next, create the checklist your workers will fill in.
- In the sidebar, click Checklists.
- Click Add checklist.
- Pick a template that fits your equipment. Its inspection items are filled in for you. If nothing fits, pick Blank checklist.
- Set the schedule, for example daily at 09:00. Adjust the items if you like.
- Click Save.
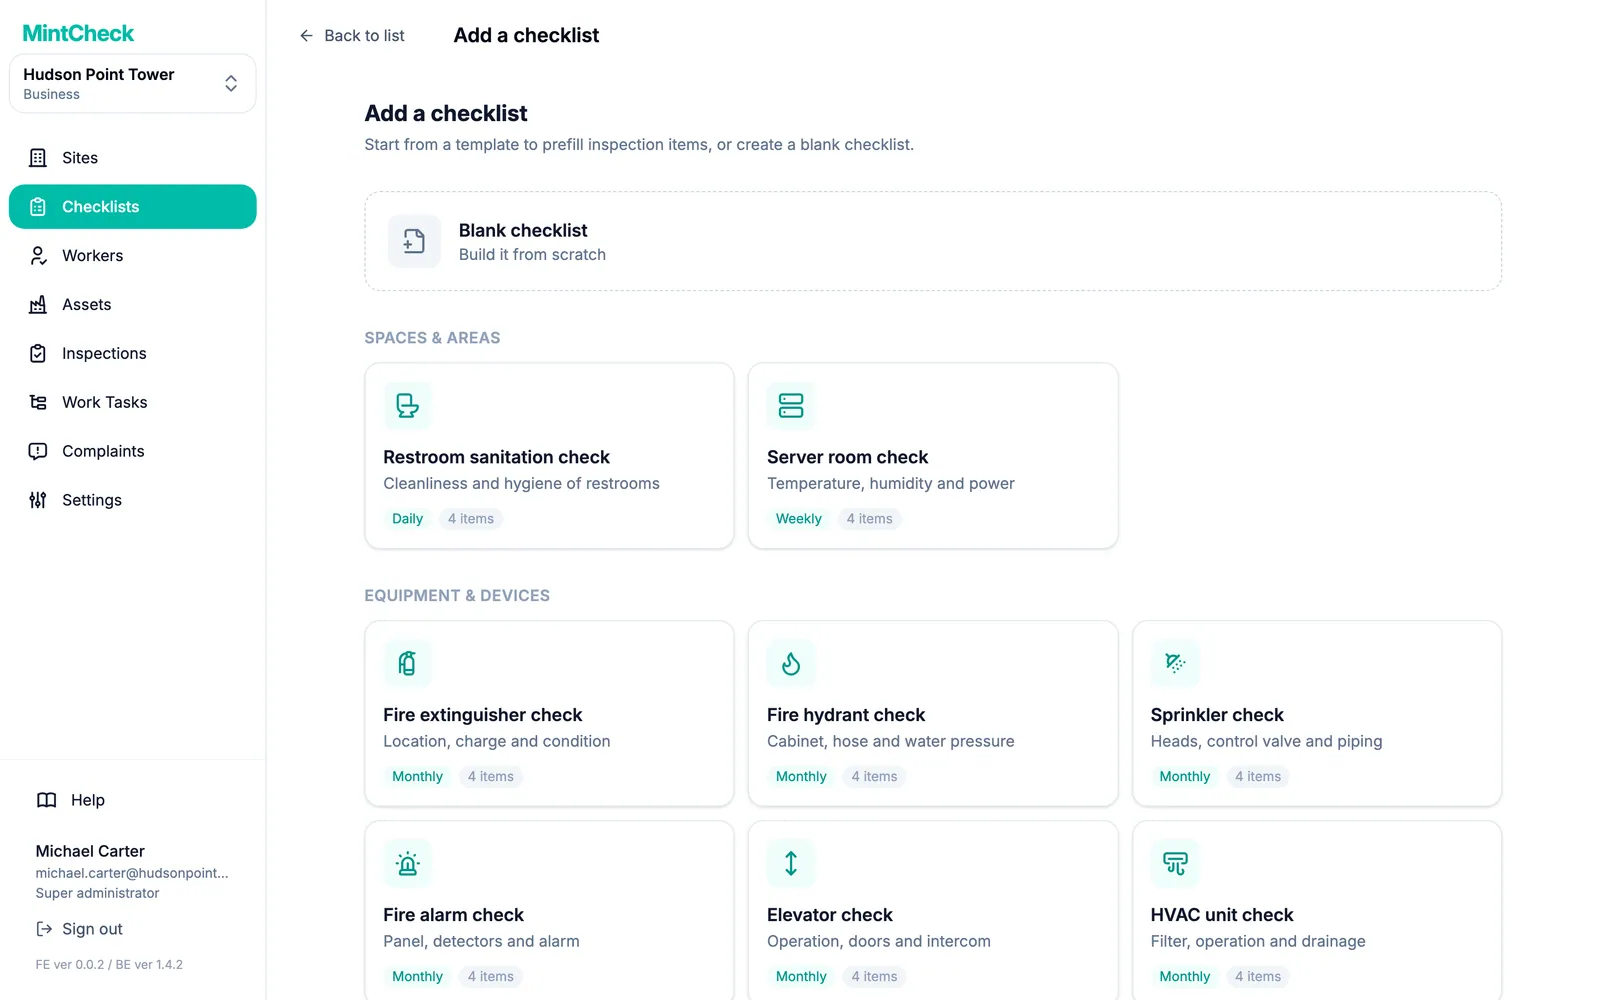
More detail: Sites and Checklists.
Step 2: Add an asset and a worker
An asset is the thing you inspect, such as a pump or a fire extinguisher. Linking a checklist to it tells MintCheck what to inspect and when.
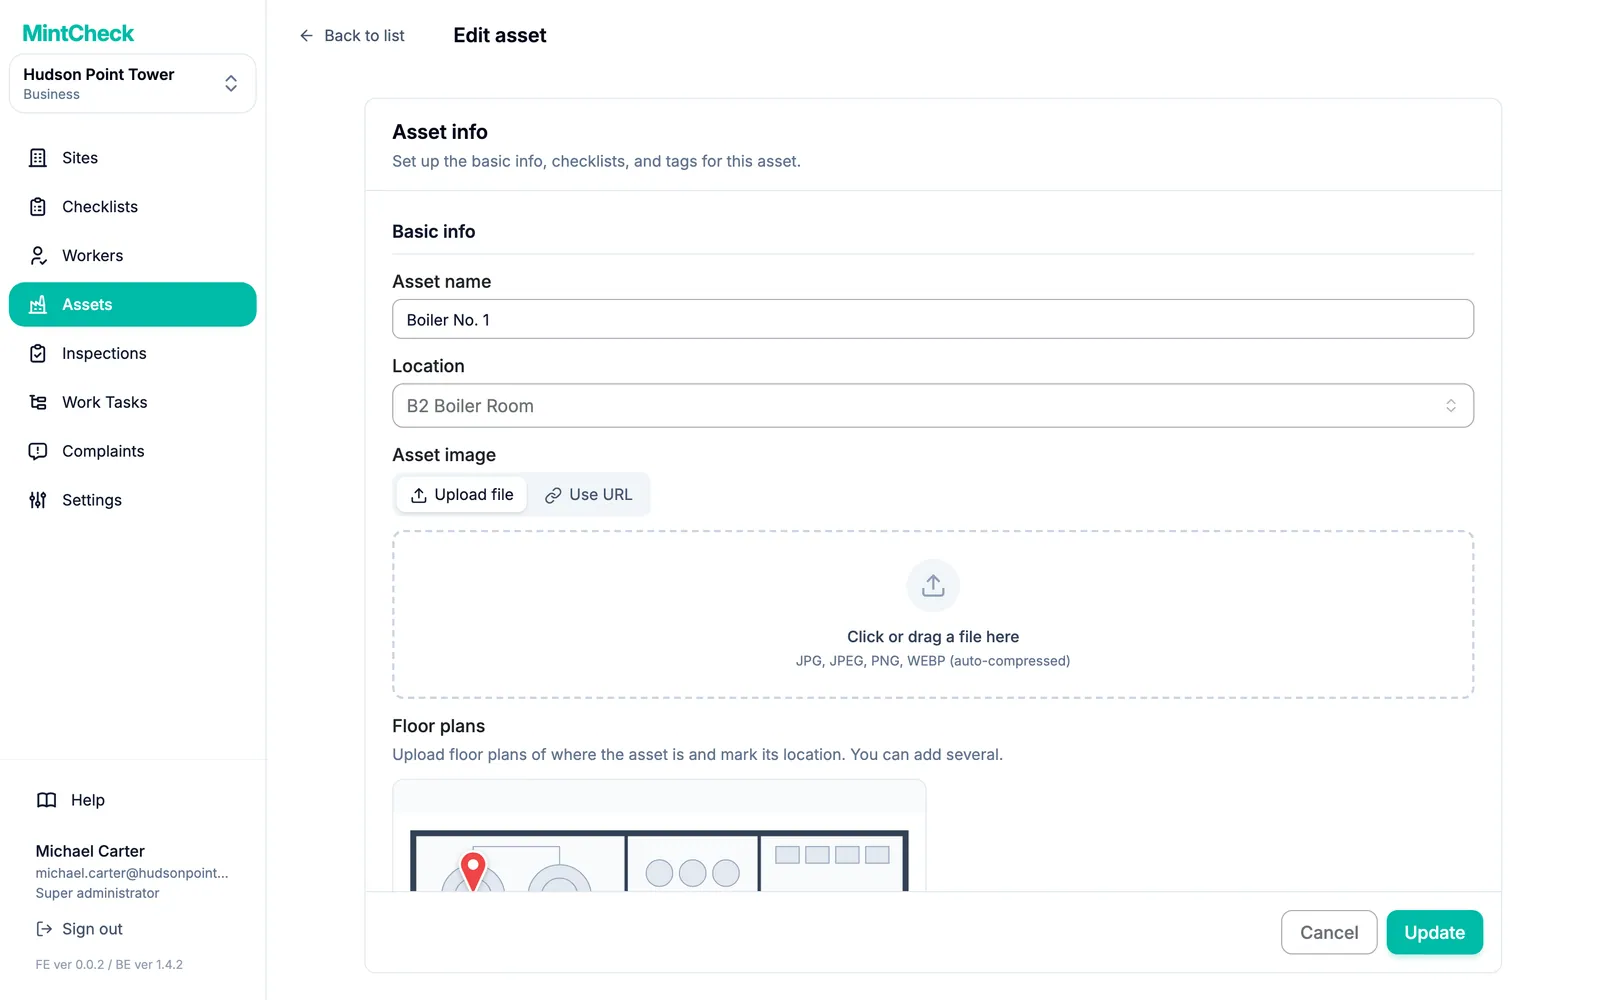
- In the sidebar, click Assets.
- Click Add asset.
- Pick a template, or Blank asset.
- Enter the Asset name.
- Under Linked checklists, select the checklist you made in Step 1.
- Click Save. MintCheck creates a QR code for the asset.
Now add the person who will do the inspection. For this test, you can add yourself.
- In the sidebar, click Workers.
- Click Add worker.
- Enter a Login ID and a Name. Adding a Phone is optional, but it lets the worker sign in with a phone number too.
- Click Add.
More detail: Assets and Workers.
Step 3: Print the QR code and do a test scan
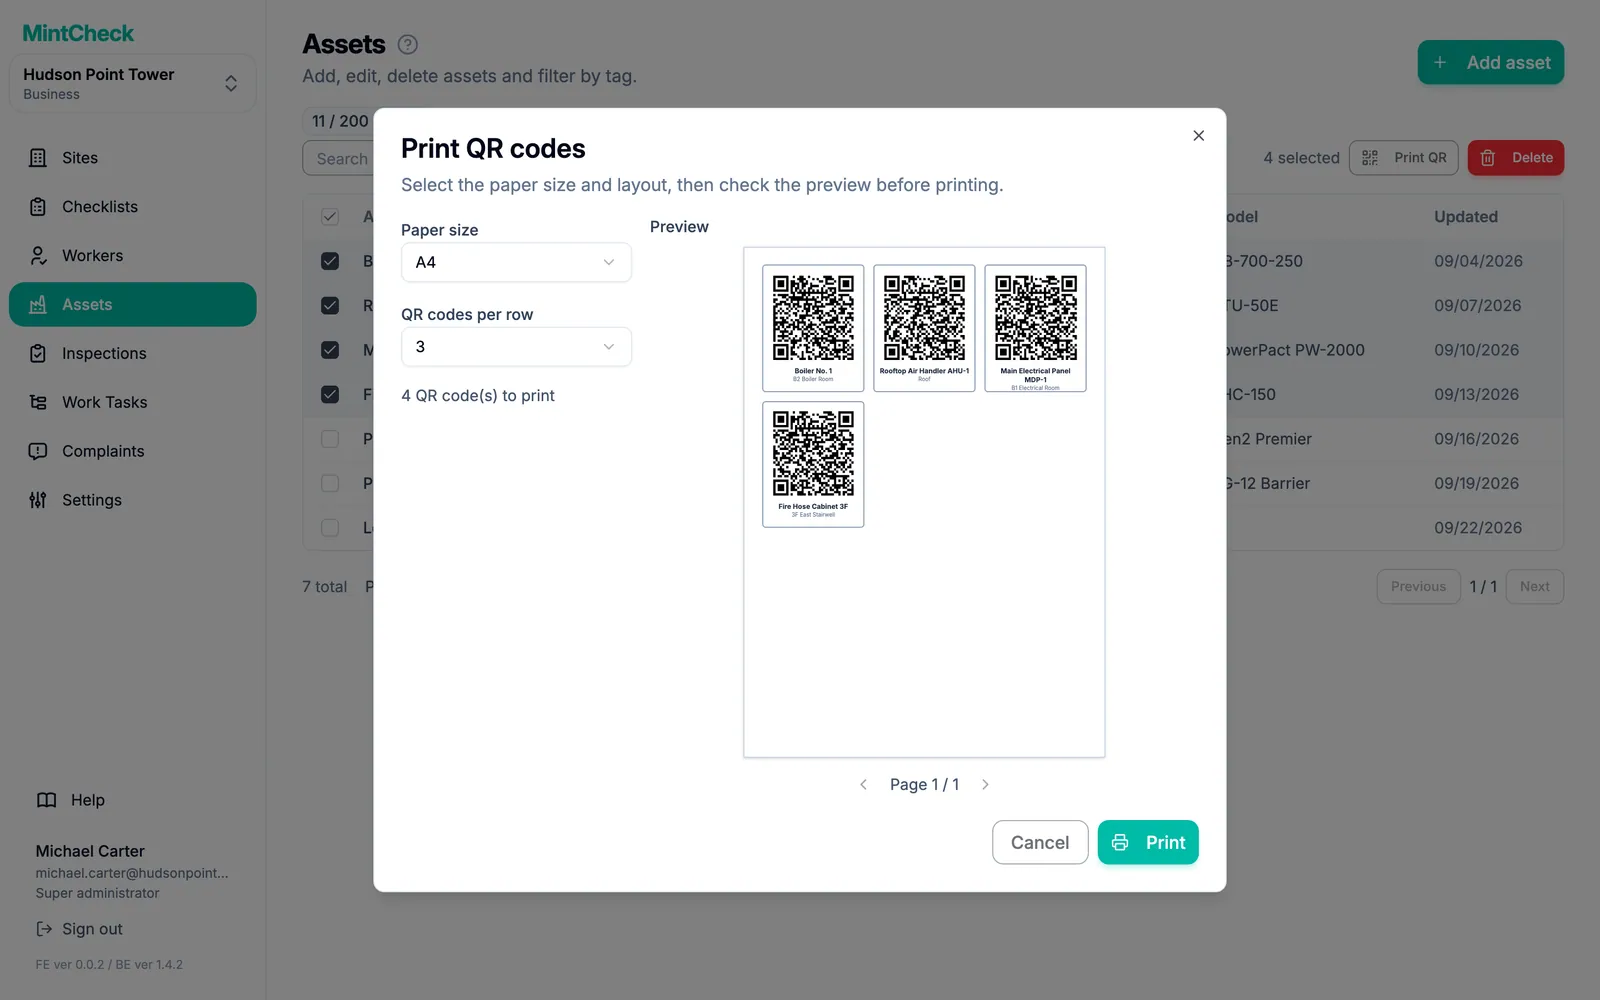
- In the sidebar, click Assets.
- Select the asset's checkbox and click Print QR.
- Check the preview and print the page. Attach the QR code to the asset where workers can reach it.
Now test it the way a worker would:
- Scan the QR code with your phone's camera app and open the link.
- Sign in with the worker's login ID or phone number.
- Tap Start inspection and choose the checklist.
- Answer each item, choose the overall result, and tap Submit.
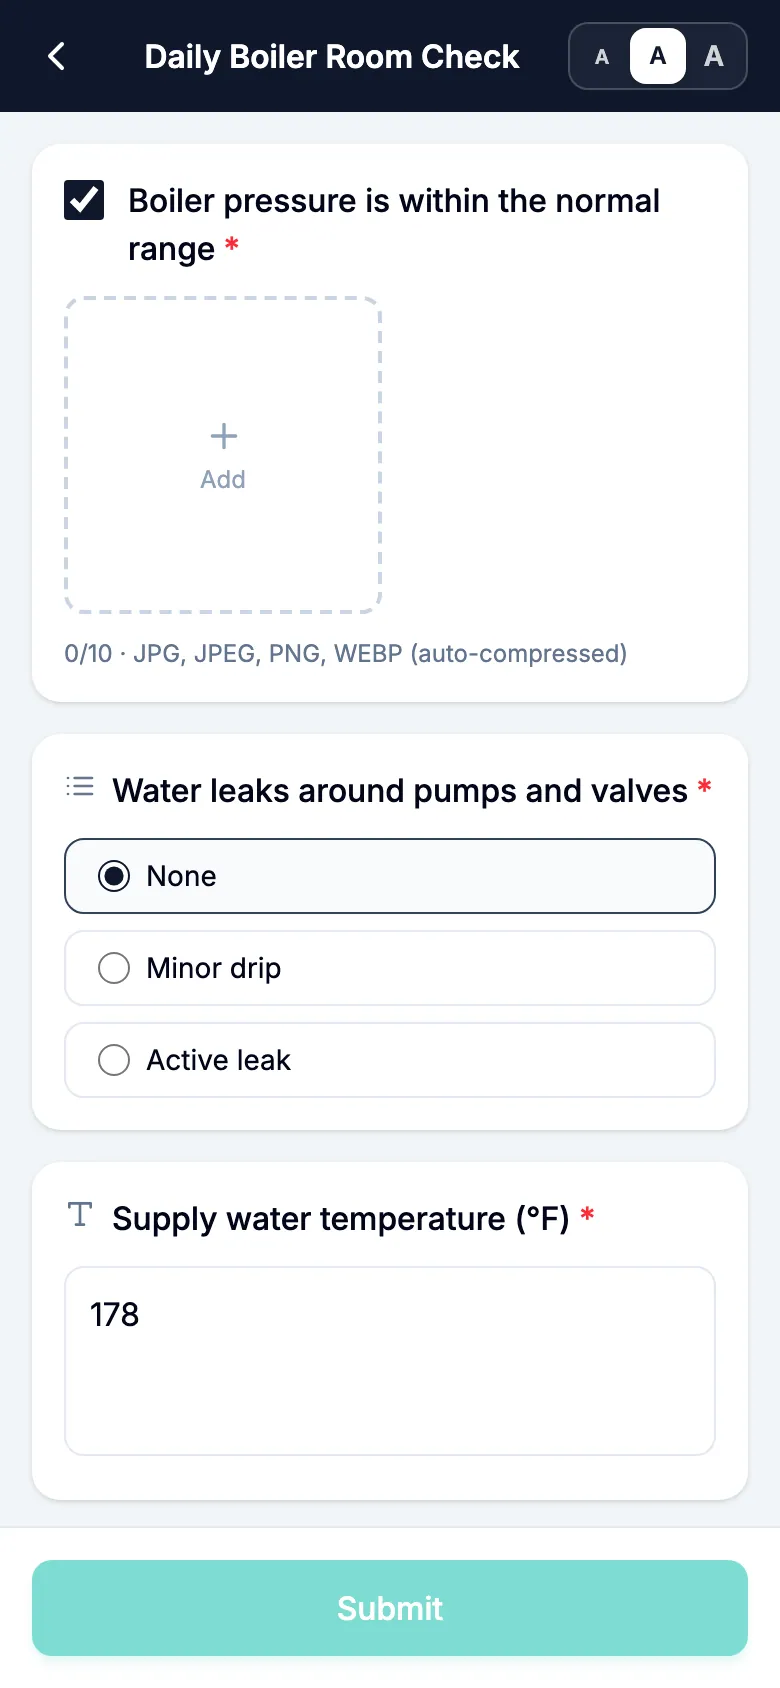
More detail: QR codes and Worker app.
Step 4: Check the results
- In the admin console, click Inspections in the sidebar.
- Your test inspection appears in All inspection records, with the time, worker, and result.
- If the worker reported a problem, it also appears in Abnormal inspections.
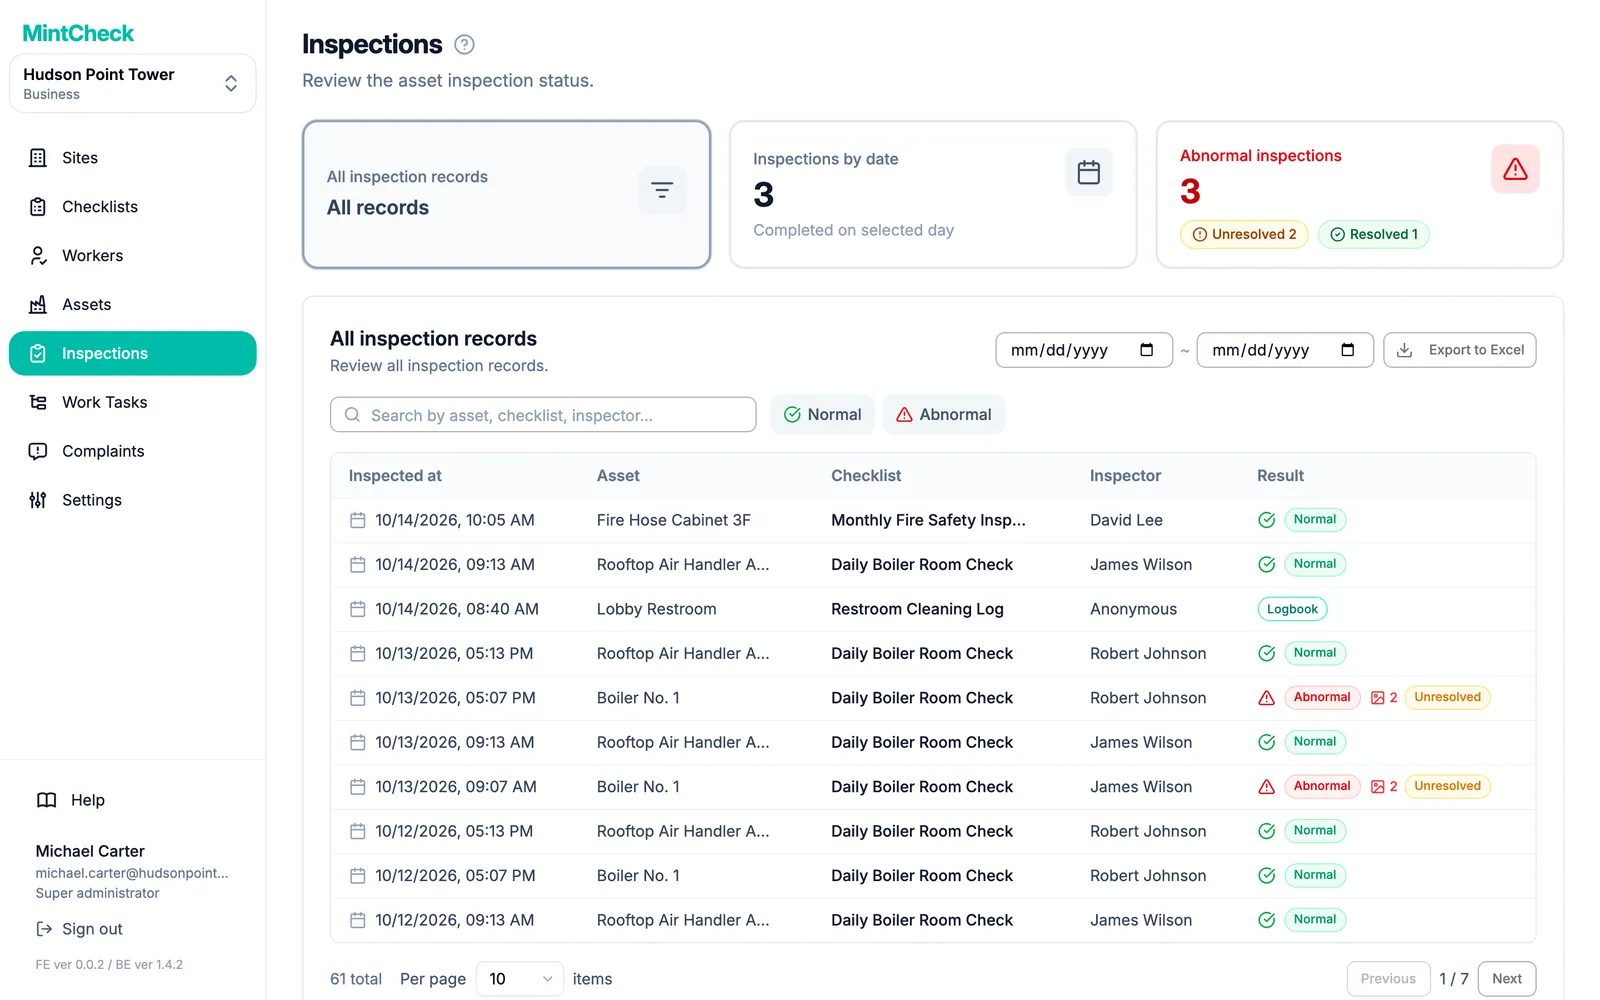
That's it. From here you can add more assets and workers, create work tasks, and turn on the complaint box.