Checklists
Create checklists from templates, add items, set schedules, link them to assets, and manage them.
What a checklist is
A checklist is the list of questions a worker answers during an inspection, such as "Pressure gauge normal?" or "Take a photo of the panel". It also holds the schedule: how often and at what times the inspection is due.
You create a checklist once and then link it to one or more assets. When a worker scans an asset's QR code, they see the checklists linked to that asset. One checklist can serve many assets, for example one "Fire extinguisher" checklist for every extinguisher in the building.
Open Checklists in the sidebar to see all checklists of the current site.
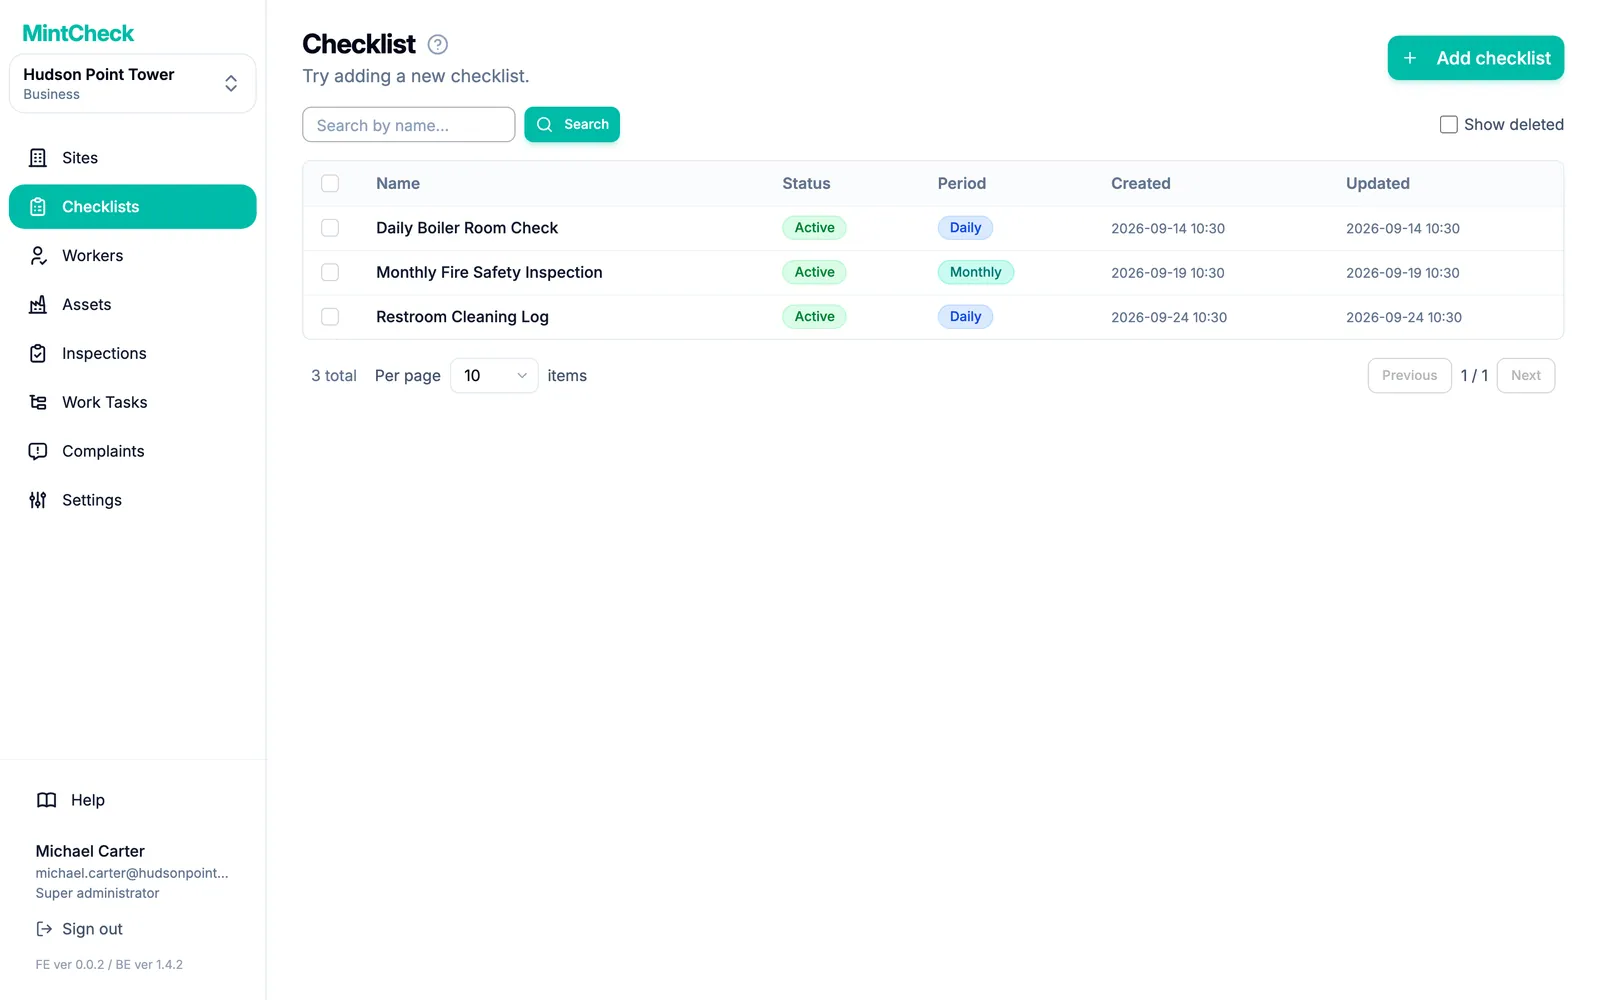
The list shows each checklist's Status and Period. Click a row to open and edit it.
Create a checklist
- In the sidebar, click Checklists.
- Click Add checklist. The Add a checklist page opens.
- Choose a starting point:
- Click a template, such as a fire extinguisher, elevator, or restroom. Its name, items, and schedule are filled in for you.
- Click Blank checklist to start from an empty form.
- Check the Checklist name. Each name must be unique in the site.
- Set the schedule and the items, as described below.
- Click Save.
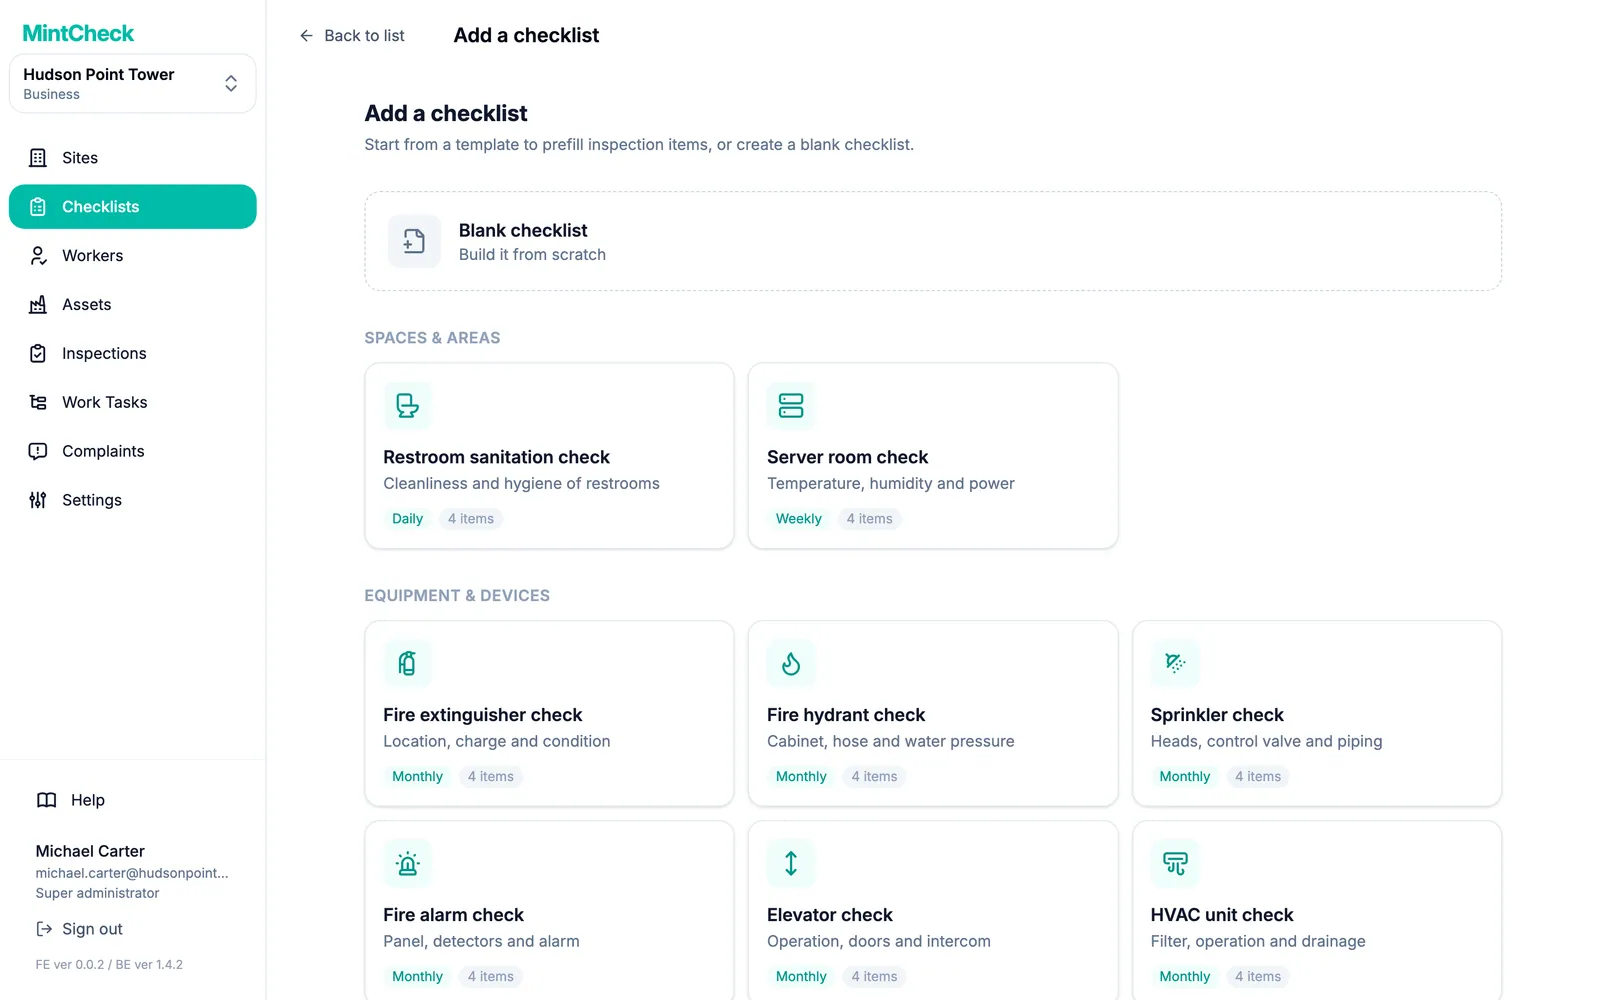
Templates are grouped by category, such as Equipment & devices or Logbooks. Everything a template fills in can still be changed before you save.
Add inspection items
Every checklist needs at least one item. Under Inspection items, click Add new item for each question, then choose its type:
| Type | What the worker does |
|---|---|
| Check | Ticks a box to confirm, for example "No leaks". |
| Multiple choice | Picks from answers you define, for example Normal / Needs recharge / Replace. |
| Text | Types a short note or a reading. |
| Image | Takes or attaches a photo. |
For each item you can also set:
- Required answer: the worker cannot submit until this item is answered.
- Workers can attach photos: the worker can add photos to this item as evidence. Photo items always take photos, so this option is not shown for them.
- For multiple choice: add answers with Add option, and turn on Allow multiple answers if the worker may pick more than one.
Drag the handle on the left of an item to change its order. Two items with the same type and title are not allowed.
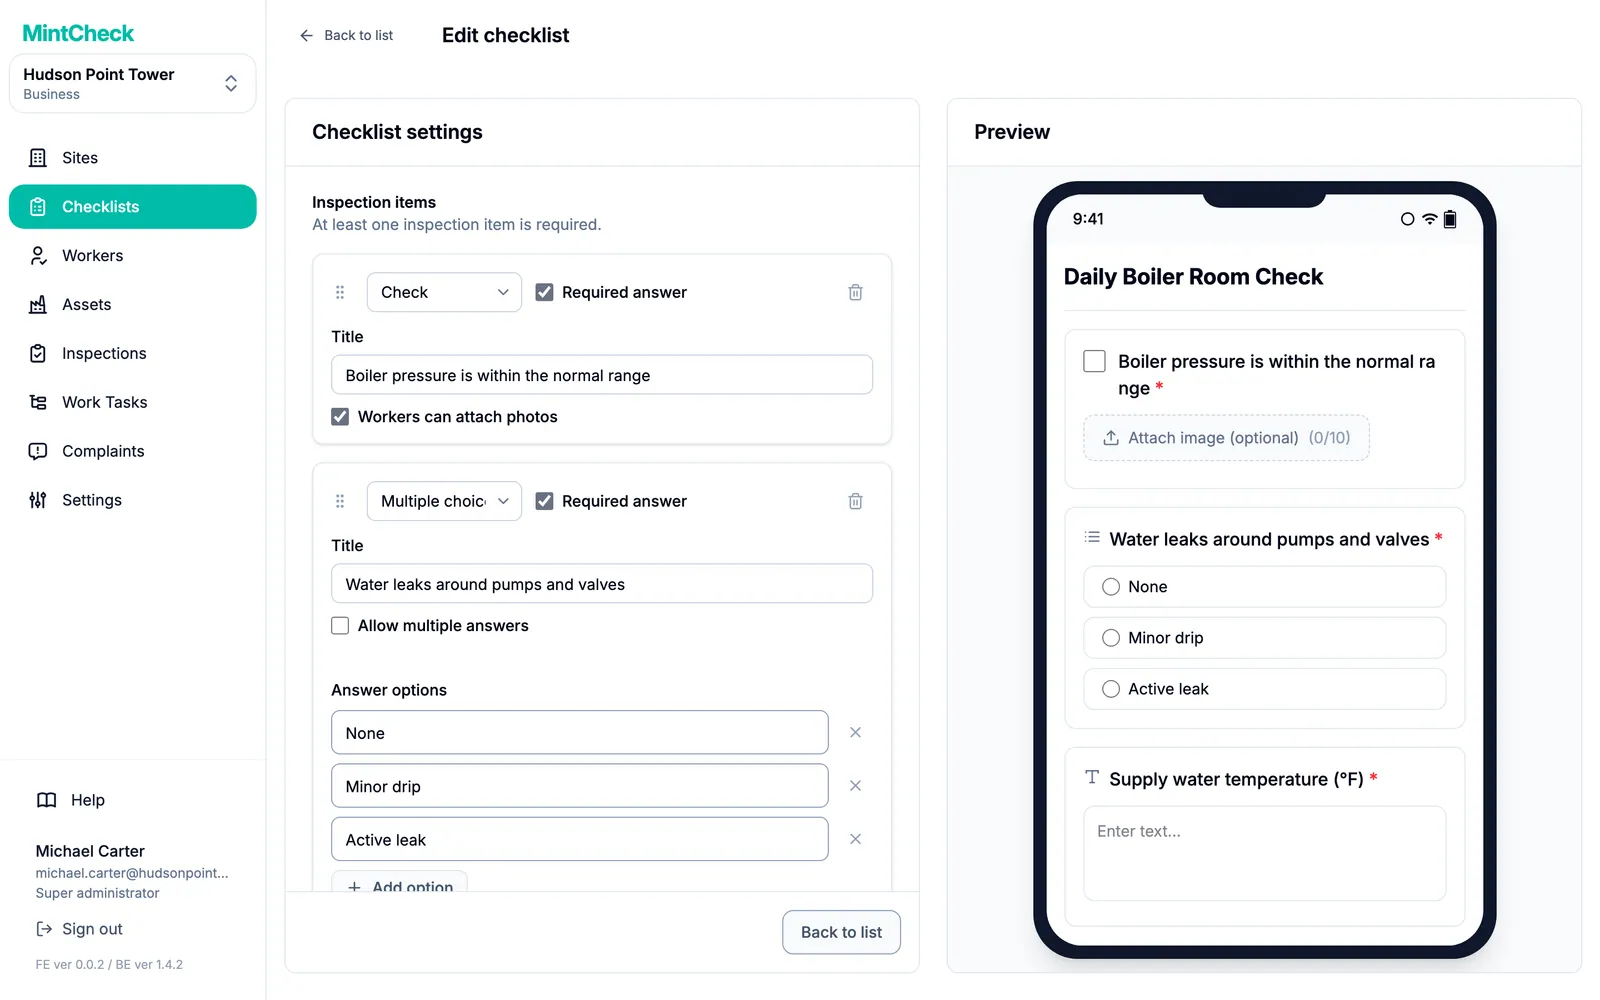
On the right, the Preview shows the checklist as it will look on a worker's phone. It updates as you type. Nothing is submitted from the preview.
Set the schedule
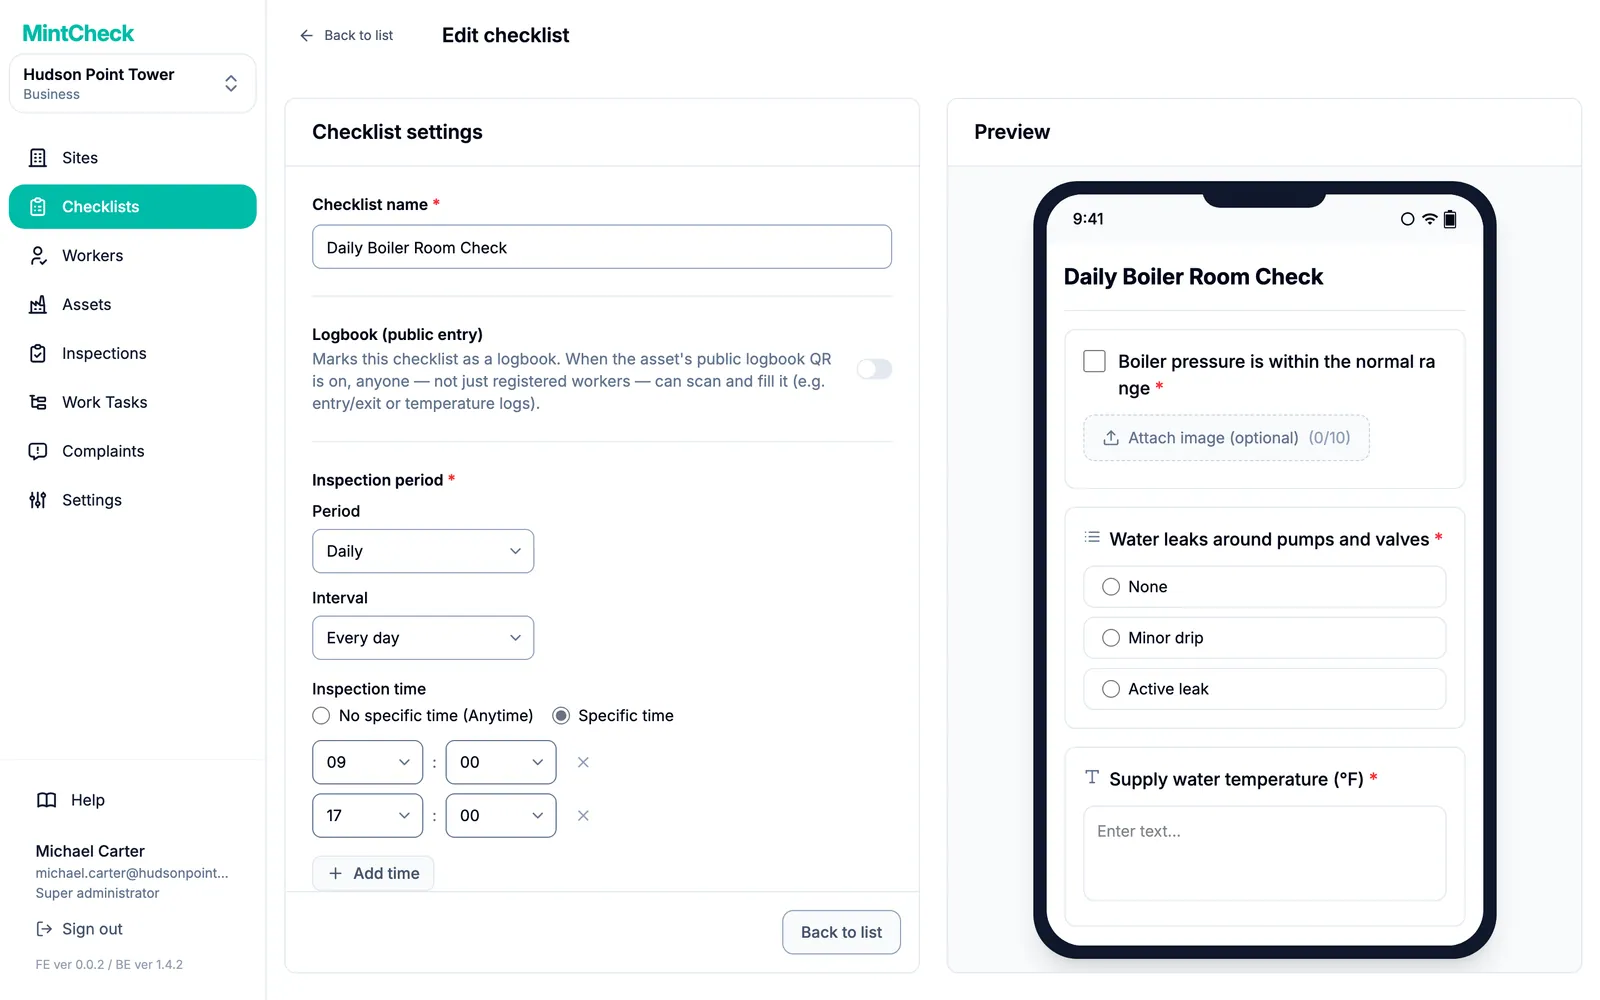
Under Inspection period, choose a Period:
- Daily: every day, or every few days using Interval.
- Weekly: pick the Days of the week, for example Monday and Thursday.
- Monthly: choose By date (for example the 1st and 15th, or Last day of month) or By weekday (for example the first Monday).
- Yearly: pick the Months, then the dates or weekdays in those months.
Then set the Inspection time:
- No specific time (Anytime): the inspection can be done at any time on the due day.
- Specific time: add one or more times with Add time. Each time is a separate inspection, for example 9:00 and 18:00 for two rounds a day. The same time cannot be added twice.
How scheduled inspections are counted
The dashboards count each time slot once per linked asset. A daily checklist with two times that is linked to three assets gives 2 × 3 = 6 scheduled inspections that day. A checklist set to No specific time (Anytime) counts as one slot per due day. A checklist that is not linked to any asset is not counted at all. See Sites for how to read the dashboard.
If a checklist should be filled whenever something happens, not on a schedule, turn on Logbook (public entry) instead. See Logbooks.
Link a checklist to assets
A checklist does nothing until it is linked to an asset. You link it from the asset:
- Open the asset from Assets, or add a new one.
- In the Checklists section, open Linked checklists.
- Select one or more checklists and save the asset.
The asset list shows how many checklists each asset has. For the full asset form, see Assets.
Edit, copy, or delete checklists
- Edit: click the checklist in the list. Change the name or schedule and click Update settings. Change the items and click Update items. Changes apply to future inspections.
- Copy: tick one or more checklists and click Duplicate. This is useful for a similar checklist with small differences.
- Pause: the super admin can tick checklists and use Change status to set them to Pending. Only Active checklists are scheduled and counted.
- Delete: tick the checklists and click Delete.